5 Yoga Poses For Cyclists
My favorite springtime activity is traveling by bike to one of Vermont’s many lakes, ponds, or swimming holes, with a lunch, towel, and bathing suit in hand. For those especially long rides, remember to stretch and strengthen to prevent stiffness during and after your trip. The ideal time to stretch is during breaks in your ride and directly after, this is because your muscles are warmed up from the biking you have already done. On your bike, quadriceps, hamstrings, and hips never rest. As a result, riders often have overdeveloped quadriceps and tight hamstrings, which can pull the hips and pelvis out of alignment. Also, the body position on the bike requires the spine to be in constant forward flexion. If proper form isn’t maintained, it can result in muscle pain and strain in the back and shoulders. This yoga sequence is designed to ease tightness in the legs, while aligning the hips and spine. Of course, you don’t have to be a cyclists to benefit from these poses.
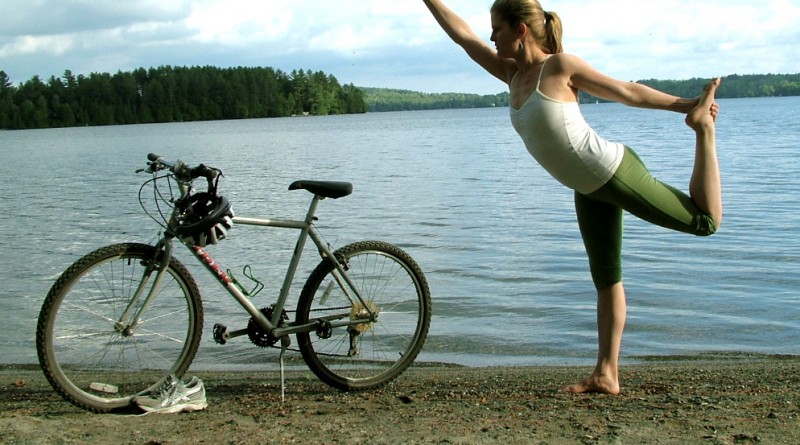
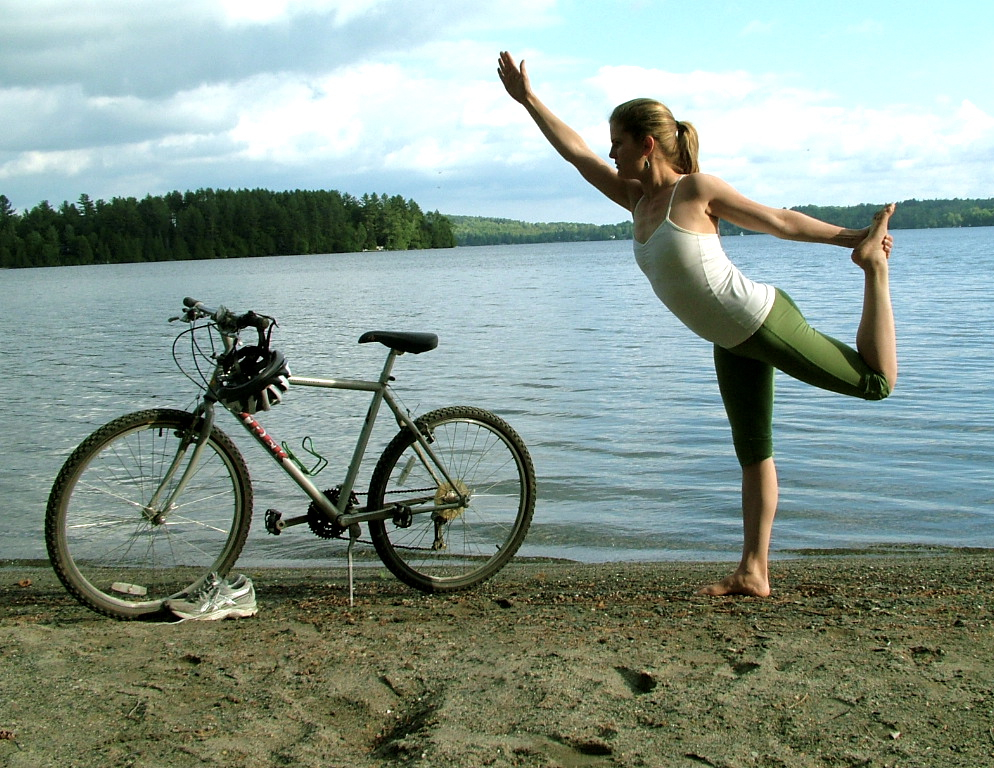
1. Dancer Pose Variation
Benefits: Strengthens standing foot, ankle, and leg, while stretching the opposite quadriceps and top of the foot. Builds balance and focus and brings the spine into extension.
Here’s How: Begin standing with your feet hip width apart and your second toes facing forward. Shift your weight on to the left foot, and find your right foot with your right hand. Begin to draw your right heel toward your buttock while at the same time pressing your foot into your hand. This will engage muscular energy, which protects your right knee joint and helps maintain balance. Stay in this pose, if it is challenging for you, or feel free to place a hand on your bike for balance. If you would like to go deeper in this pose, extend your left arm skyward, palm open, fingertips spreading. Begin to fold forward at your left hip crease, extending through the arm and crown of the head. Draw the chest forward as you continue to press the back foot into your hand, lifting your heel away from your buttock. Sense your stability and balance as you open the front side of your spine and leg. Stay here for 10 breaths. When complete, move out of the pose the same way you came in, with control and focus. Repeat on the other side.
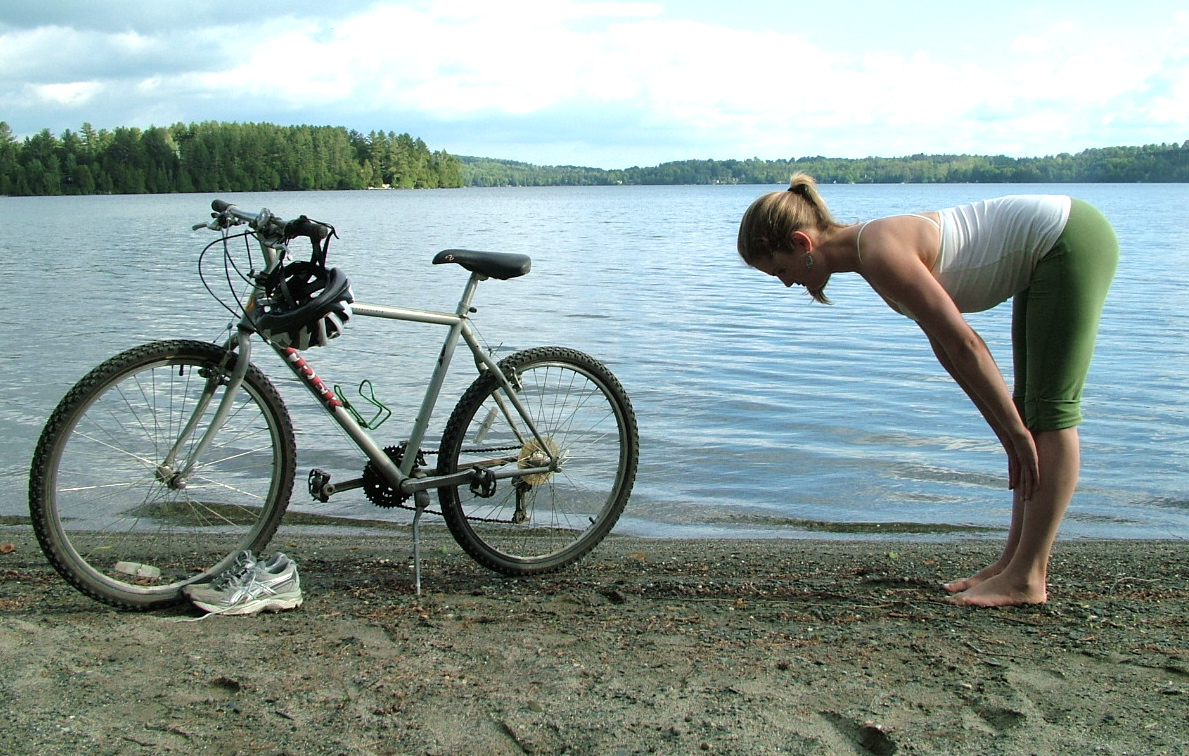
2. Standing Forward Fold Variation
Benefits: Strengthens feet and quads, while stretching hamstrings, calves, and Achilles tendon. Brings the spine into proper alignment while developing flexibility in the pelvis and toning the core.
Here’s How: From standing, place your hands on your hips, and on your inhale, lengthen the spine, reaching the crown of your head skyward while keeping your shoulders down and back. On your exhale, begin to fold forward, keeping the extension in your spine. Feel your sitting bones begin to lift up and back. Pause at the place where you feel your spine lengthening while keeping the natural curves of the spine intact. To check your spinal alignment, place a hand on your lower back to make sure it isn’t rounding. You will know it is rounding when you feel your vertebrae poking out. Keep your head in line with your spine, your neck long, and draw your belly in and up to stabilize your core while gently lifting your tailbone up and back. Sense the stretch in your hamstrings, and feel your weight evenly distributed across the balls and heels of the feet while gently lifting and spreading the toes. To prevent overstretching in your knee joint, bend it the tiniest amount, and if you are really tight, you may need to bend your knees more deeply in order to find your optimal spinal alignment.
3. Cat and Cow
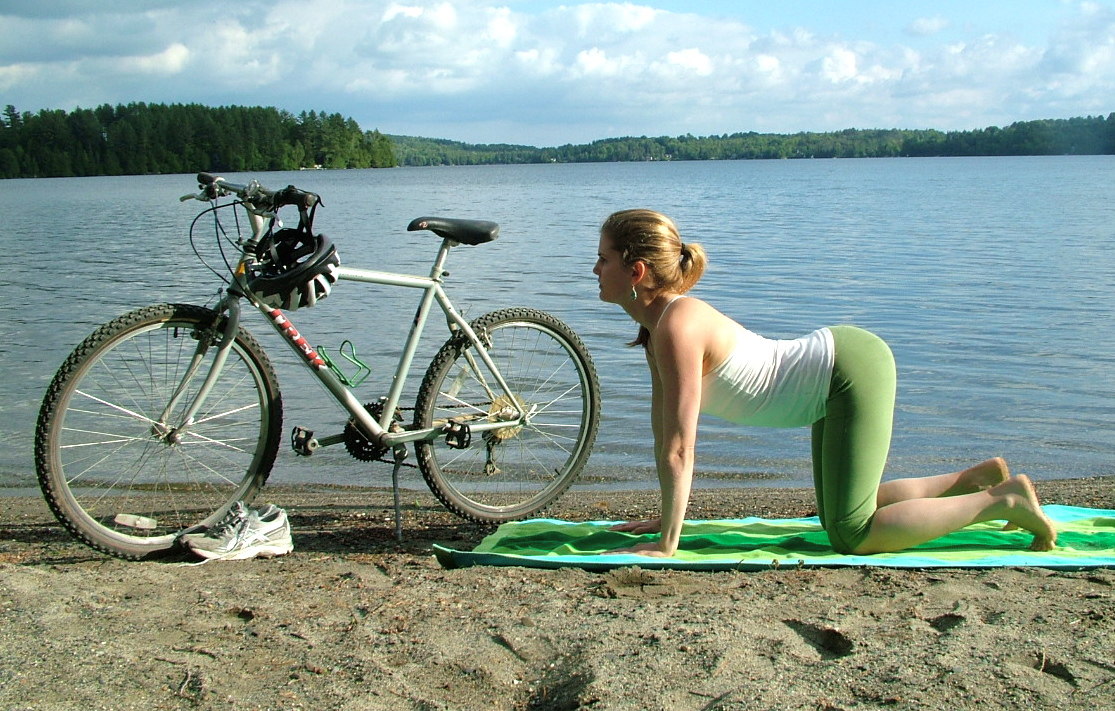
Benefits: Brings spine into flexion and extension, massages discs in between vertebrae, strengthens arms, and teaches the synchronization of breath and movement.
Here’s How: From standing forward fold variation, come on to your hands and knees. With your hands grounded and finger tips spread and rooting into the ground, curl your toes under to stretch the soles of your feet. Place your hands directly below your shoulder joint and your knees below your hips. With your inhale, lift your tailbone toward the sky, feel this action ripple up the front of your spine as your belly descends toward the ground, your chest broadens and lifts, and your eyes look up.
With your exhale, curl your tailbone, tucking your pelvis and drawing your naval toward your spine, gaze to your navel.
Experience a deep stretch in the back muscles as your back body arches up, stretching like a cat. Continue in this way, synchronizing breath and movement, and keeping your gaze like a pendulum, looking at one point skyward, and back to your naval. Keep the arms active and hugging toward one another while the balls of your big toes ground down to create a stable foundation for these movements. Complete 5–12 rounds.

4. Sphinx
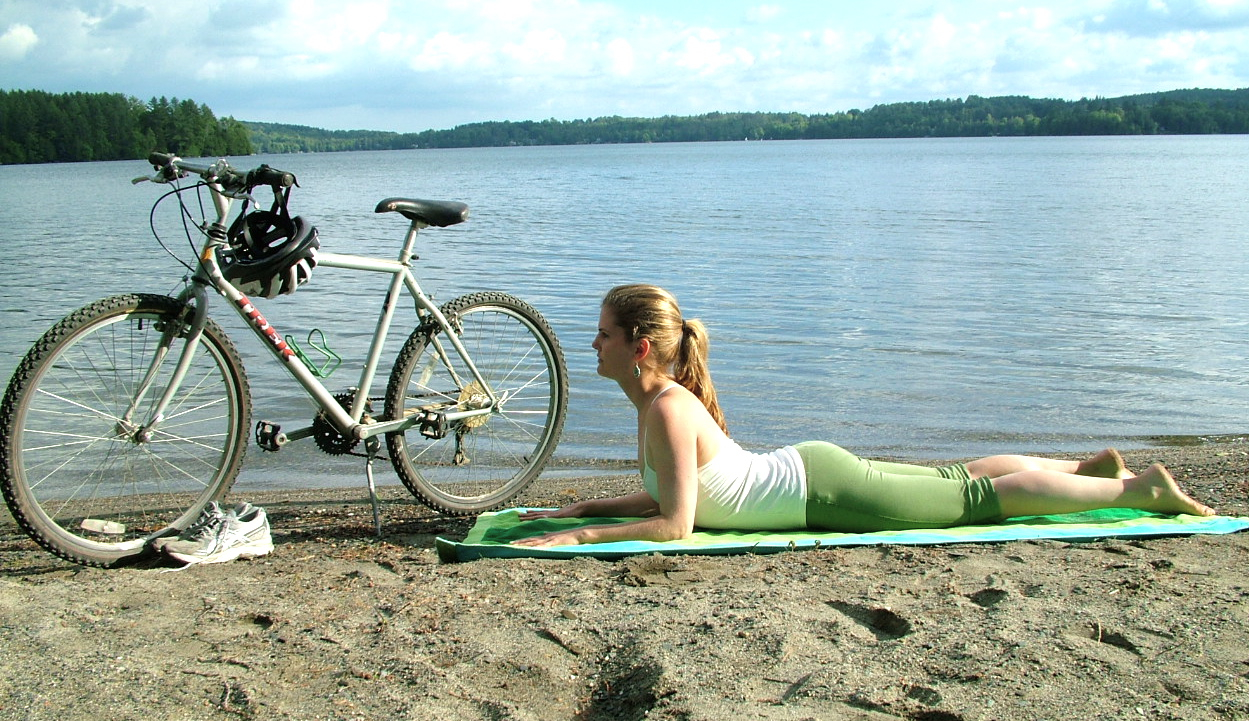
Benefits: Brings the spine into extension, gently stretches and maintains elasticity in the ligaments that connect the bones of the spine together. Tones core and stabilizes hips and pelvis.
Here’s How: From Cat and Cow, come on to your belly. Support yourself on your forearms, assuming the position of the Sphinx in Egypt. Make sure your elbows are shoulder width apart and that your shoulders are stacked over your elbows. Notice the forearms and hands; line up your wrists with your elbows, and spread and root through your fingertips. Press your hands away and feel this action open the front side of your spine as you draw the heart through the gates of the arms to expand the chest. Move your legs wide apart, and gently lift your lower belly off the floor to stabilize and strengthen your core. Keeping your shoulders down and back. With each inhale, feel the crown of your head lifting skyward and the back of your head drawing back. Stay here for 3 to 5 minutes, counting your breaths. When complete, slowly release down to the ground, make a pillow with your hands on which to rest your head. Breathe deeply into your back, this stretches out the back muscles you were just contracting. Feel with each inhale your back floating up to the sky.
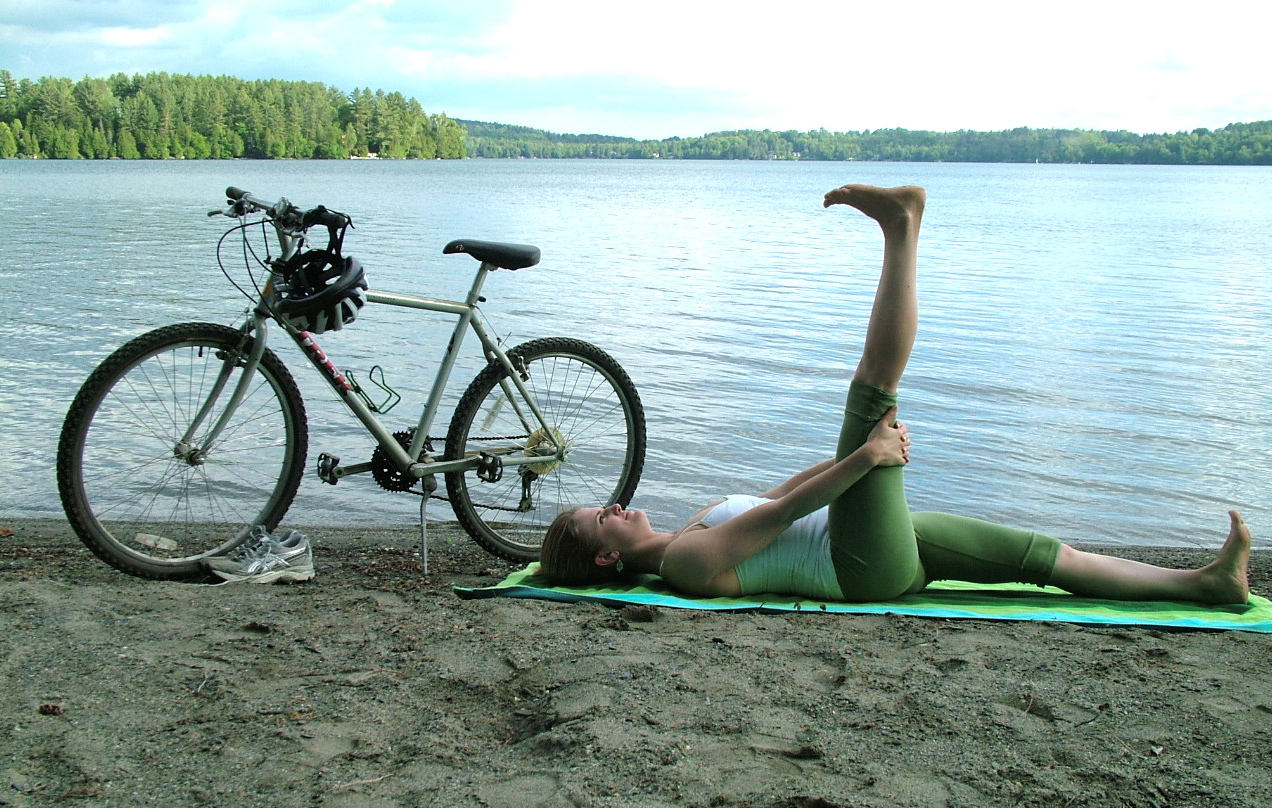
5. Reclining Hand-to-Toe Pose
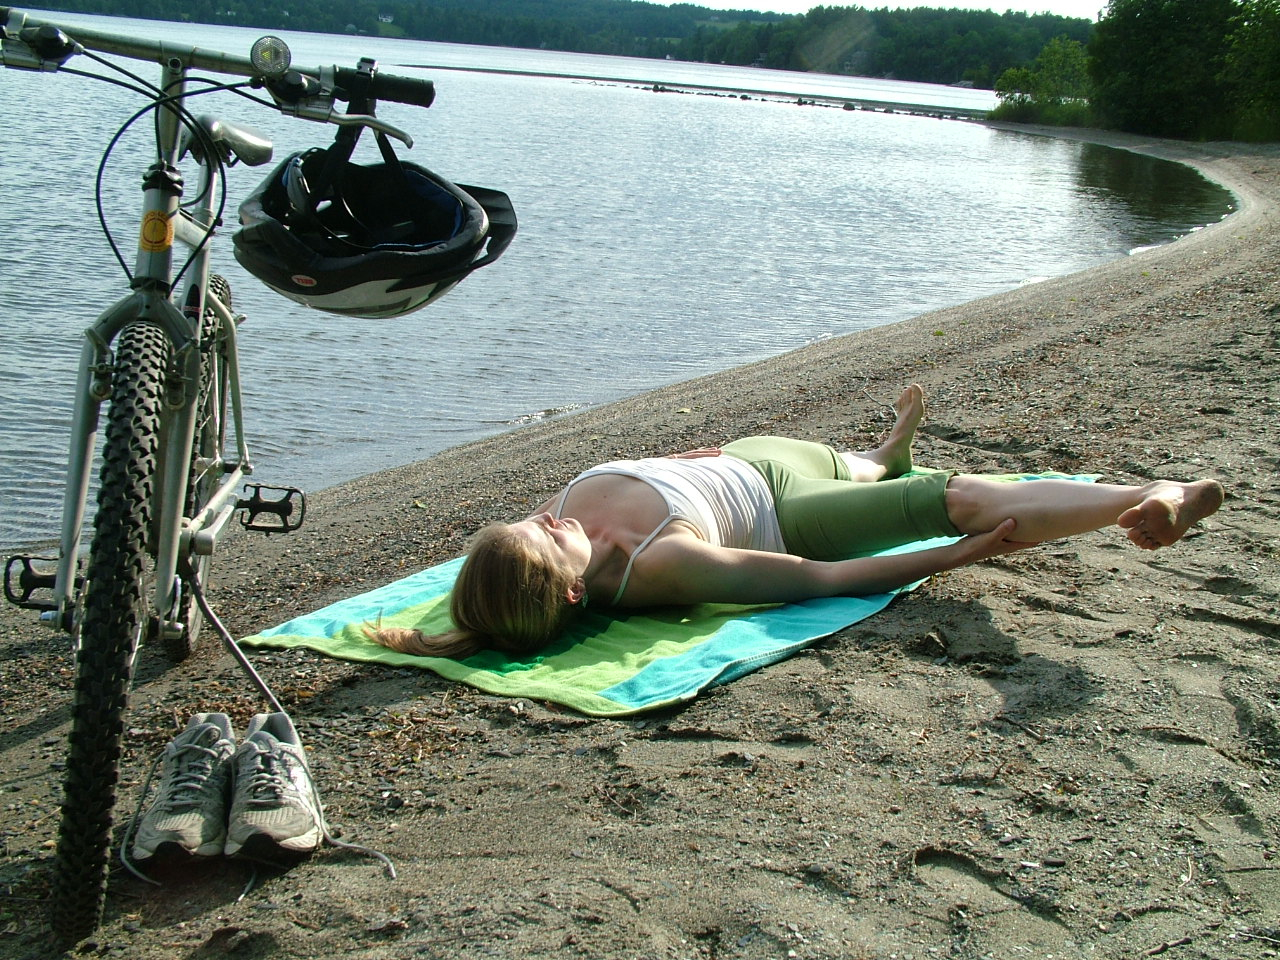
Benefits: Stretches the hamstrings, calf, and foot without any strain on the back. Grounds and aligns hips. Tones and stabilizes the core.
Here’s How: Come to the floor, resting on your back. It is helpful to have a strap for this pose, but not necessary. On your inhale, lift your right leg up, point your foot toward the sky. Interlace your hands behind your leg to support the lift and to find a deeper hamstring stretch. Begin to roll your ankle, which stretches and lubricates this joint. If you have a strap, place it over the ball of your right foot, spread your toes and bring the ball of your foot and heel parallel, as if you could balance a vase of flowers on your foot. Hold the strap in your right hand only and make sure your arm is straight—no bent elbows. Keep your grip on the strap light, do not squeeze. Let the big muscles of your legs and core support the lift in the legs, rather than your arm muscles. Bring your attention to your left leg, and press this leg down into the ground while flexing your left foot. Your left leg, hip, core, and both shoulders are the anchor for this pose, allowing you to stretch your right leg safely and fully. Stabilize your core by drawing your lower belly in and up and slightly descending your lower back toward the ground, but not to touch. From here, begin to open your right leg out to the side, keeping a little lift on the strap so that your toes point toward the wall behind your head. Let your leg come out and down slowly so as to utilize your core muscles. Keep your leg hovering off the floor. Stay here for 5–10 breaths, then inhale as you move your leg back to center, staying grounded in your left leg and hip. See if you can let go of the strap as you bring your leg back up; this will utilize your core strength. Slowly bring your lifted leg straight down to the ground while keeping your lower back moving toward the ground, but not touching. Notice your core toning while you do this. When your leg finds the floor, pause and notice the difference between the two legs. Repeat on the other side.
