
Pre-season tune-up: Getting your skis ready for the season with a pro
While the first snows of the season have yet to fall, you won’t want to wait until opening day to make sure your gear is ready for that first big Nor’easter of the season.
Edges need to be re-beveled, sharpened and removed of rust. That rock or stump you went over last spring may have really done a number to the bases of your skis or board. You’ll also want to make sure that your bindings are still functioning properly
You can do this on your own or there are professionals in every ski town — at some pretty reasonable package prices for the season — to lend a hand and, most importantly, the expertise.
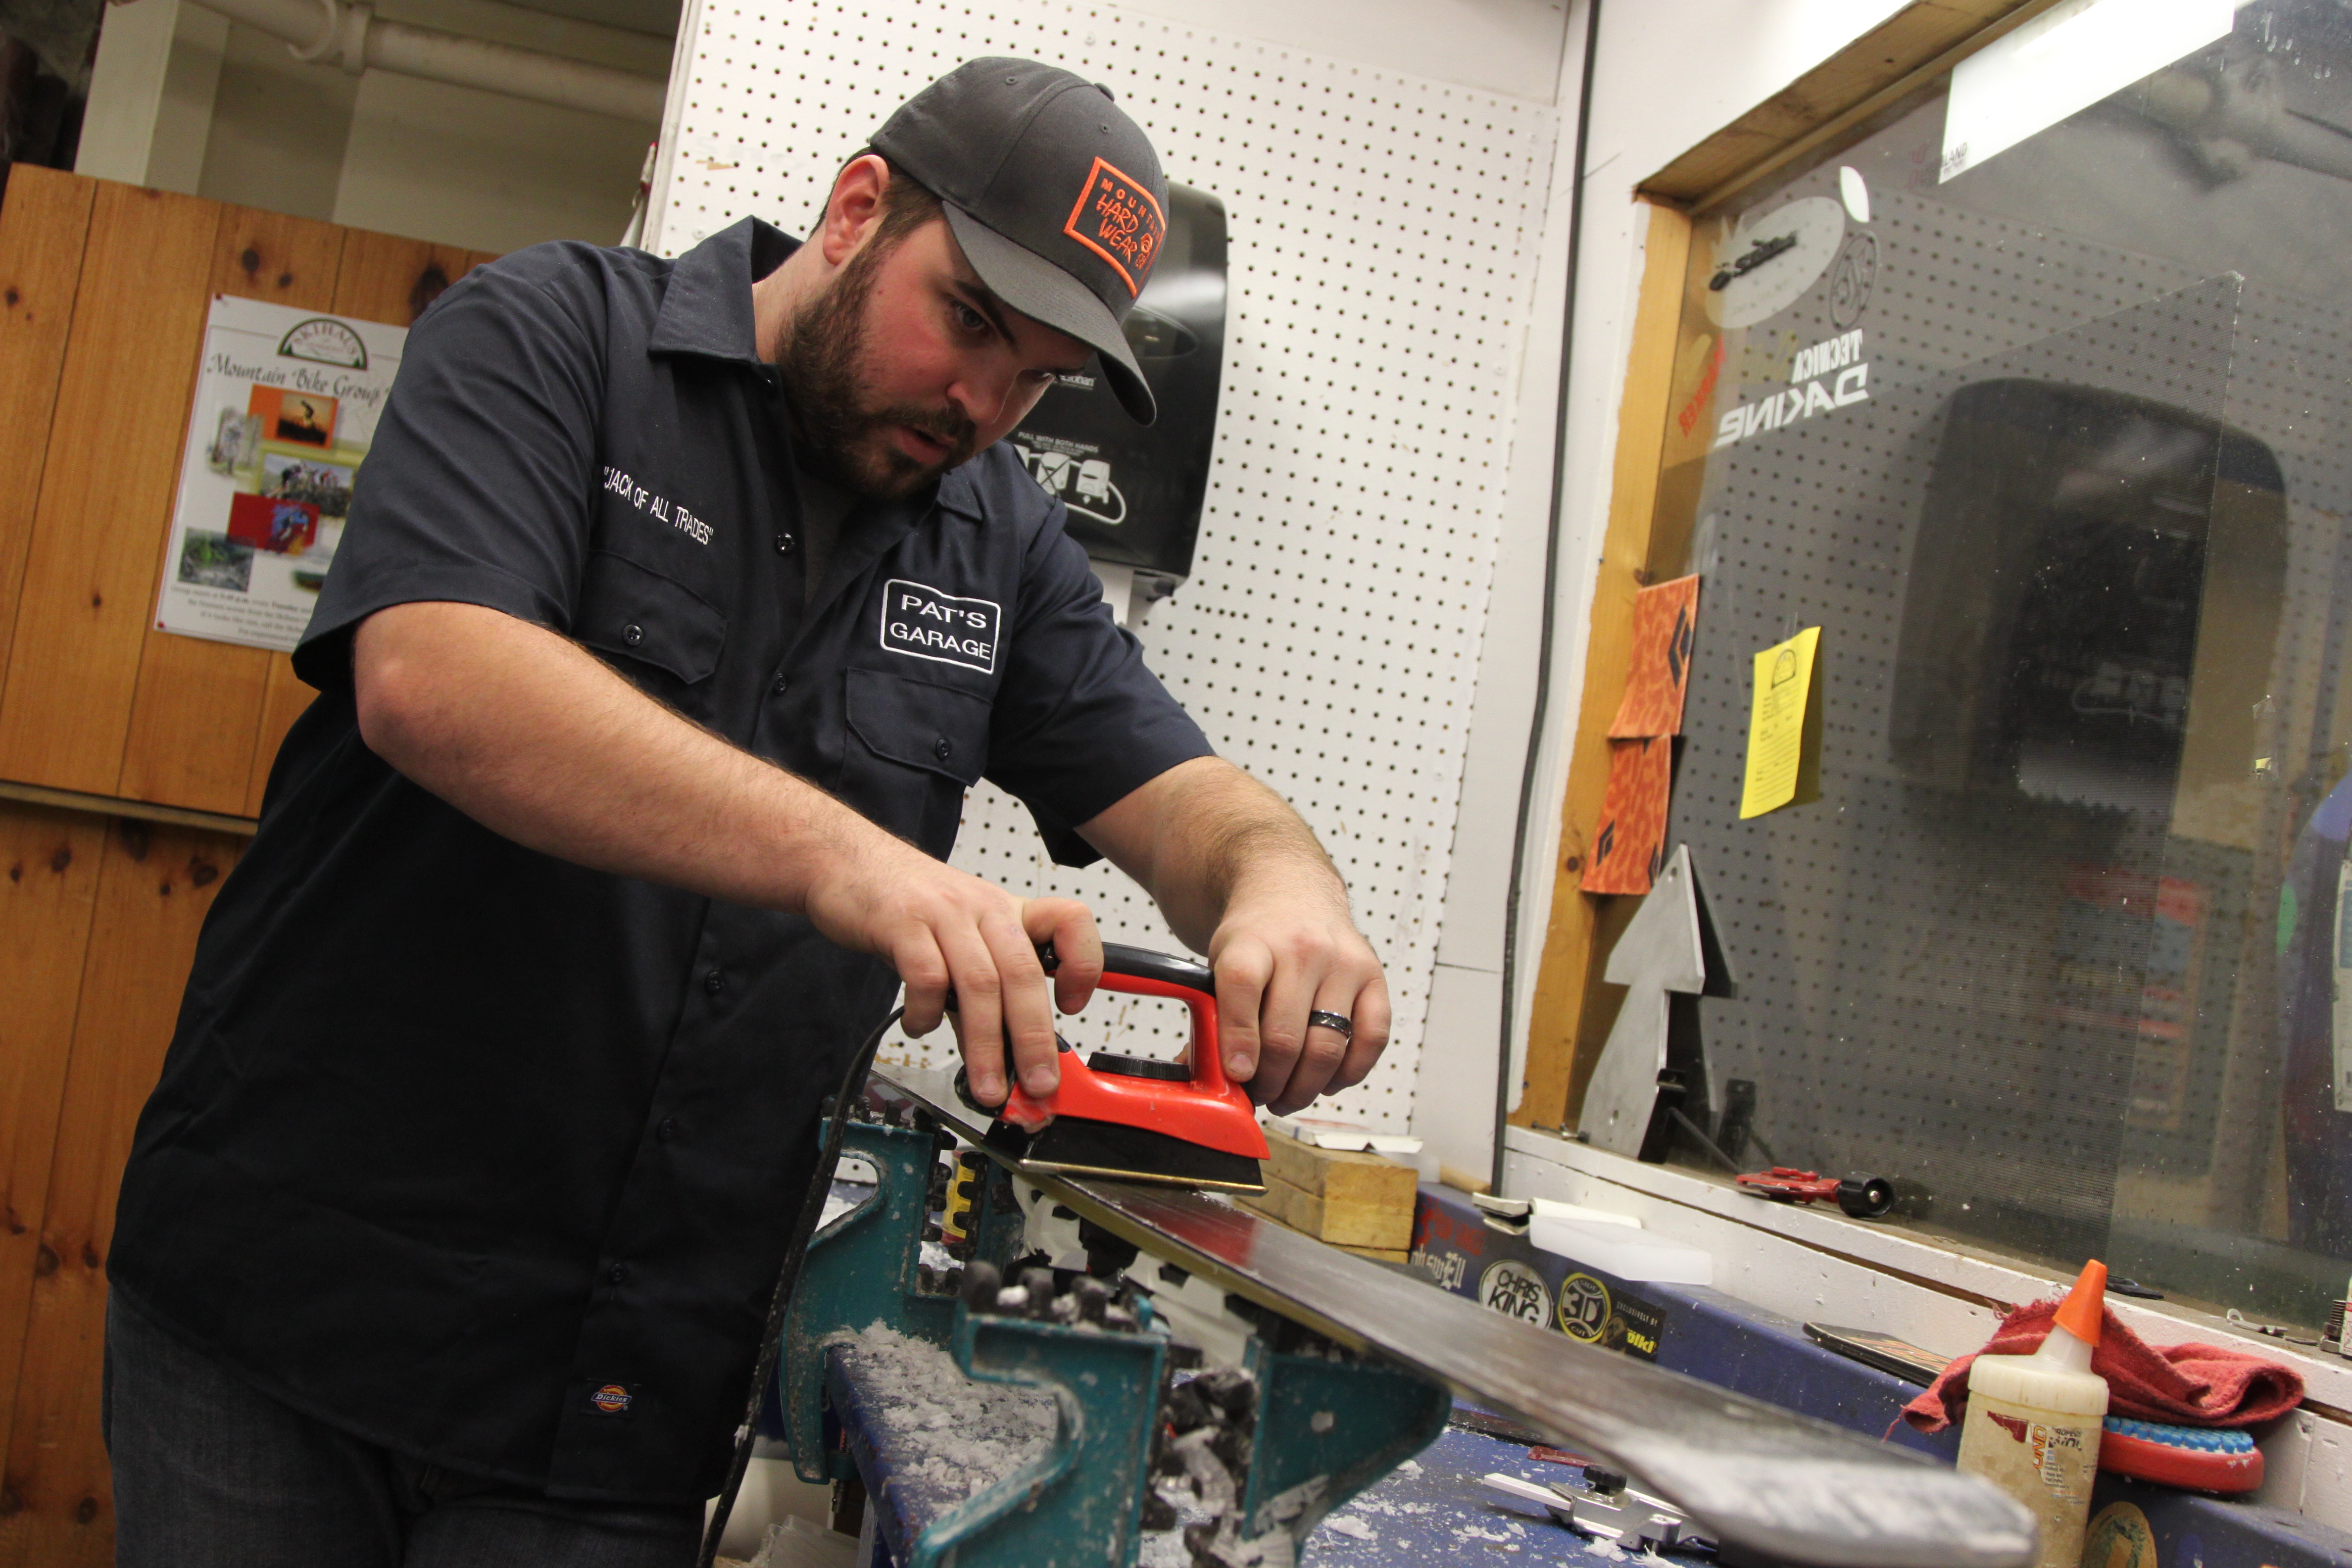
Vermont Sports talked with Patrick Dempsey, a ski and bike mechanic at SkiHaus in Middlebury, who walked us through the basics of tuning skis for the season, including base grinding, stone grinding, beveling and sharpening edges and waxing. At 27, Dempsey is going into his ninth season as a ski tech and is well underway preparing skis and boards for the season’s first snows.
Check your bindings
When Dempsey begins working on a pair of skis, the first step is the most important: checking the bindings. Dempsey uses a binding torque release-testing machine, which exerts enough torque on the boot to cause it to release from the bindings, simulating a crash or any event when the boot becomes forcefully ejected.
Bindings are mechanical devices that can deteriorate with wear and use overtime. The test will ensure that the reading on the DIN release scale is, in fact, the value at which the bindings release. It’s far better to check now, than ruin a season with a leg injury because a binding didn’t release when it should have.
Base repair, grinding, stone grinding
The bottoms or bases of the skis occasionally hit a rock, stump or patch of dirt. To keep the ski gliding smoothly (which helps transition from turn to turn), the nicks or scrapes on the bottom need to be filled-in using a material called PTex, a malleable synthetic that melts when heated. Your ski shop feeds it into a hot glue-gun type of device that runs for around $100, but it melts easily at home with a lighter. Drip into the scratch or gouge and let it dry, then scrape with a waxing tool to smooth it off.
If the damage to the base is serious enough, you’ll want to have the bases grinded. It is possible to flatten bases using belt grinders, but that’s risky business to do at home on an expensive ski. It’s just not worth it. Most ski shops will have a number of machines to do the job, which is an annual cost at most.
Skis are constructed with an increasing variety of materials, but the base of the ski, the bottom that makes contact with the snow, is universally made with high-molecular weight polyurethane. A base grind will flatten the base and create a uniformly smooth surface, while the stone grind that follows uses a diamond belt to add structure to the base that wax will sink into.
“Those striations act as little puddles that will hold the wax,” Dempsey says. “What that does is reduce surface tension between the ski and the snow.” That, in turn, makes the ski easier to turn and perform as it is built to do.
Depending on snow conditions and your style of skiing, stone grinding belts can apply a number of finishes to the bases of skies, but leave the obsessing about the merits of arrow versus linear patterns to the world-class skiers. A good base grind at the beginning of the season will have you moving faster through the snow, you’ll ski or ride better, and you’ll have a lot more fun.
Removing Burrs and beveling edges
Burrs result when a finely tuned edge on your ski or board gets dinged or worn, resulting in small filaments and protruding edges. The first step in tuning is to remove these with a diamond stone and then with a fine ceramic stone. You can wet the tools first to make them last longer.
New skis come with factory edges and will hold and perform while the skis are new. But with wear and tear, edges inevitably wear down. For carving turns, edges must be sharp along the entire length that makes contact with the snow. Therefore, having them re-beveled and sharpened at the beginning of the season can boost the performance and extend the life of a ski’s edges.
Base edge beveling lifts the edges off the snow a slight amount (.5° – 1.0°) so they will only engage until the ski is lifted onto an edge. This can be done at the workbench at home using a file and a guide. Guides come in a variety of qualities ranging from the cheap plastic kind to the ultra-professional, but the key is to bevel the base edge correctly the first time before you sharpen the edge. Once you set that edge, there’s no turning back.
As a tip, Dempsey advises putting a thin line of magic marker on the edge and using course to fine stones (in that order) until you’ve sharpened off the marker.
“That means you’ve touched the entire edge but you haven’t taken off much material,” he says.
He also adds that while sharpening your edges is important, it is something not to get too carried away with.
“People think they need to sharpen their edges every time they ski, that they need crazy angles on their edges and that the more material they take off and the smoother the edge the better,” he says. “Technically speaking, these things are true. But I’ve seen skis that are two seasons old that no longer have viable edges for tuning because there is no material left.” That’s going too far, and shortens the life of the ski or board, he says.
Now that the bevel is set and the angle is sharp, it’s important to remember to detune a portion of the edge. If the edges remain as sharp and defined as you (or the machine) made them, it will be difficult to either initiate or come out of a turn. This is because the sharpness in the tip and the tail works to continue your skis in the direction of travel.
As models of skis develop and change every season, so do the techniques of tuning them. Newer and wider skis designed for powder have a more rockered shape than traditional models, meaning a difference in where the tuner detunes the edges. While with traditional models, it is normal to de-tune one to two inches from the tip to the tails, with fatter skis you can expect to detune four to six inches from both ends. As you become familiar with your skis, it’s possible you might like your edges to be more or less detuned.
After dulling the edges with a file (to detune), use a diamondstone or ceramic stone to remove any burrs.
After sharpening and detuning, many shops will wipe down the ski with base cleaner to polish and remove any excess material. If you’re working on a workbench at home, you may not be able to get the high-end varieties that most shops use. Instead, you can use denatured alcohol or even a citrus based cleaner.
“Avoid anything that reacts heavily with plastics,” advises Dempsey. “You can damage the materials in your base.”
Waxing
Like bases, this is another area of ski maintenance and tuning that’s easy to get bogged down in the minutiae. Back when all ski bases were made of wood, waxing was necessary to make the ski slide down the hill.
While the polyethylene bases of today are more durable and produce less friction, repeated waxing is still important throughout the season. Waxes come in a variety of types for alpine and Nordic skiing and suit a variety of temperatures.
Wax works to overcome different kinds of friction with the snow by acting as a lubricant under your ski and protecting the bases from forces that contribute to oxidization. A properly waxed base is easier to turn, more durable and faster than going waxless.
Dempsey says any skier should know how to wax their skis and should do so along with checking their edges every week. When it comes to waxing, he says, diligence and precision are more important than the wax you choose.
“It’s all about prep and quality of the wax job,” he says, “and less about which of the waxes you choose.”
Drip the wax on with the iron (not the same one you use for clothes!), then scrape off with a plastic scraper while the wax is still molten or warm. Repeat until you don’t see any dirt or discoloration in the wax scrapings – this means the base is now clean. Then clean off the bases with a brush, brushing in the direction of travel.